So you’ve decided to add an above ground pool to your backyard oasis? Well, you’ve come to the right place! In this article, we will provide you with a comprehensive, easy-to-follow guide on how to install your new above ground pool. We will take you through each step of the installation process, from selecting the perfect location to filling it up with crystal clear water. By the end of this article, you’ll be ready to take a refreshing dip in your very own above ground pool!
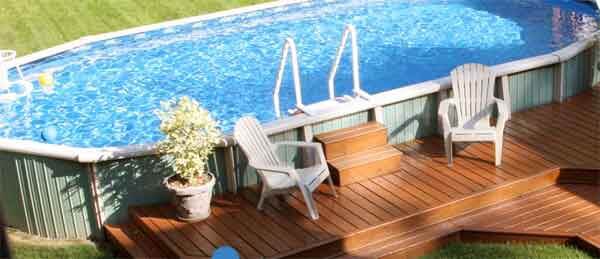
This image is property of metrodetroitpools.com.
1. Site preparation
1.1 Assess the site
Before starting the installation process for your above ground pool, it is important to assess the site where the pool will be placed. Look for a suitable location that is free of any underground utilities, such as pipes or cables. The site should also be level and stable to ensure the pool’s stability and longevity.
1.2 Clear the area
Once you have identified the ideal location for your pool, it is time to clear the area. Remove any plants, rocks, or debris that may obstruct the pool’s placement. Clearing the area will not only ensure a smooth installation process but will also minimize any potential damage to the pool’s structure.
1.3 Level the ground
To guarantee the stability and proper functioning of your above ground pool, it is essential to level the ground. Use a shovel or a rake to remove any excess soil or bumps. You can also use a level tool to check if the ground is even. Remember, a level ground will prevent the pool from leaning or sagging, making it safe for use.
2. Tools and materials
2.1 Required tools
Gathering the necessary tools before starting the installation process will save you time and effort. Some essential tools you will need include a shovel, rake, level, tape measure, screwdriver, wrench, and a utility knife. Additionally, a power drill and a rubber mallet may be required for certain steps of the installation.
2.2 Necessary materials
Apart from the tools, you will need several materials to successfully install your above ground pool. These may include the pool kit, which typically includes the pool walls, frame, liner, and other necessary components. You will also need sand or another suitable base material, as well as a protective ground cloth. Don’t forget to stock up on plumbing supplies like hoses and fittings, and consider adding pool accessories and features to enhance your swimming experience.
3. Pool selection
3.1 Determine the pool size
Choosing the right size for your above ground pool is essential to accommodate your swimming needs. Consider factors such as the available space in your backyard, the number of people who will use the pool, and any specific activities you plan to do in the water. Measure the area where you plan to install the pool and consult the manufacturer’s guidelines to determine the appropriate size for your needs.
3.2 Choose the pool shape
Above ground pools come in various shapes, including round, oval, and rectangular. The shape you choose should complement your backyard’s aesthetics and provide enough space for swimming and other activities. Round pools are popular for their easy installation and compact size, while oval and rectangular pools offer a more spacious swimming experience.
3.3 Determine the pool height
The height of your above ground pool can affect both its appearance and functionality. Consider the accessibility of the pool and the needs of the swimmers. If you have children or elderly family members, a pool with a lower height may be more practical. However, if you are looking for a deeper pool for diving or water sports, opt for a taller pool.
3.4 Select the pool material
Above ground pools are typically made of different materials, such as steel, resin, or a combination of both. Steel pools are known for their strength and durability, while resin pools are resistant to corrosion and rust. Consider your budget, desired maintenance level, and the climate in your area when selecting the pool material. Research the pros and cons of each option to make an informed decision.
4. Pool layout
4.1 Mark the pool perimeter
Using a measuring tape and marking paint or stakes, mark the perimeter of your pool on the leveled ground. This will serve as a guide during the installation process and help ensure accurate placement.
4.2 Layout the pool bottom
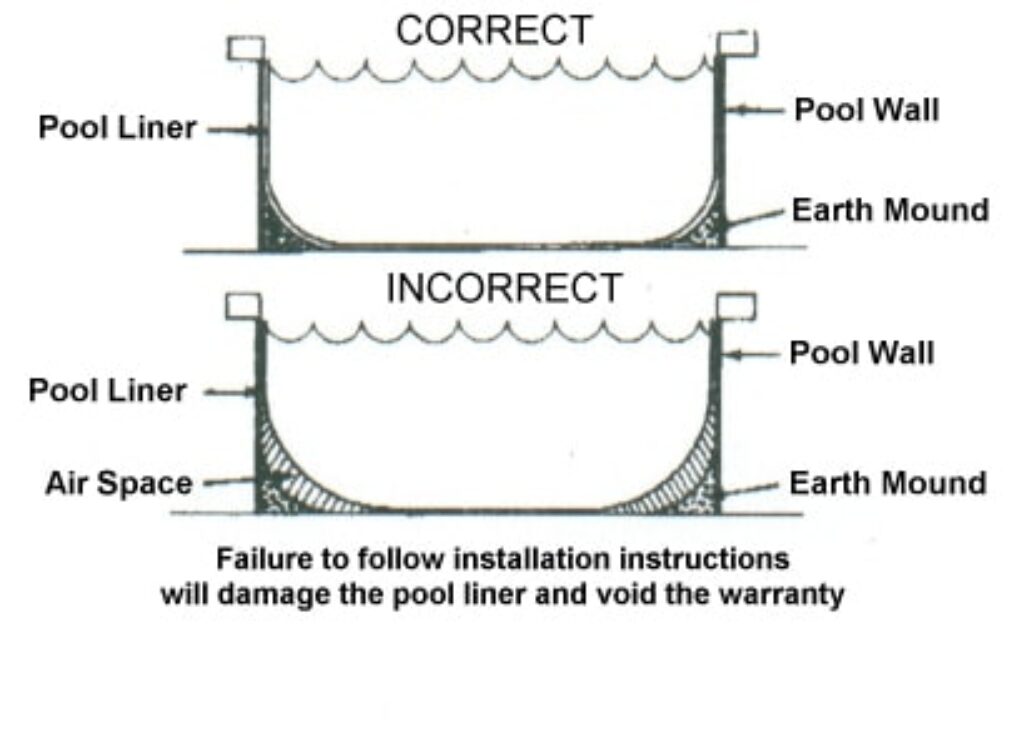
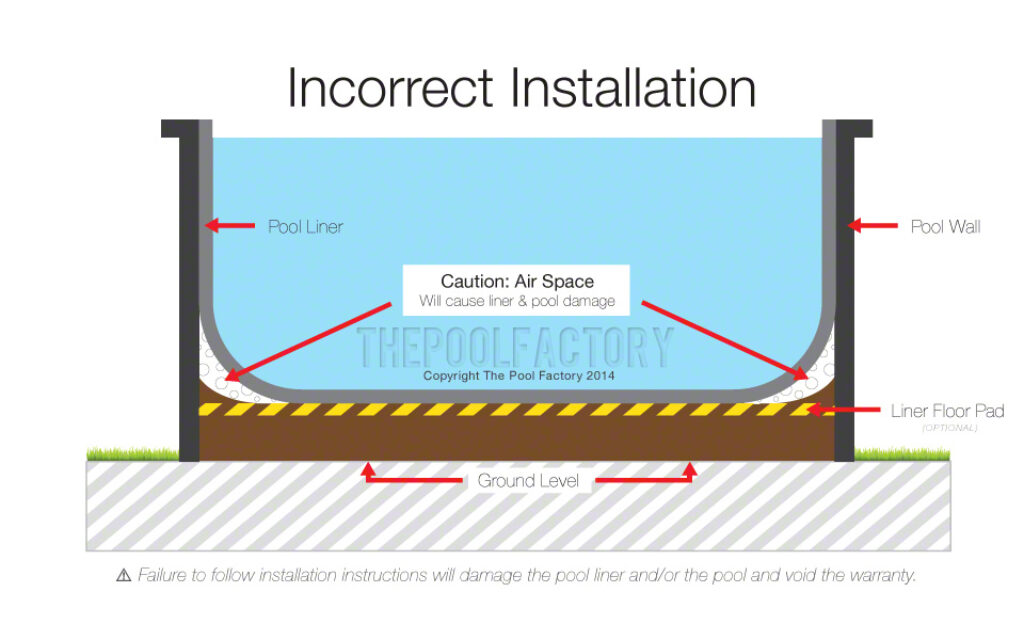
With the perimeter marked, start laying out the pool bottom according to the manufacturer’s instructions. This typically involves spreading a layer of sand or another suitable base material evenly within the marked area. The base material will act as a cushion and prevent the pool liner from being damaged.
4.3 Install a protective ground cloth
To further protect the pool liner from potential damage, install a protective ground cloth. This can be made of materials like geotextile fabric or foam padding, which provide an additional layer of cushioning. Ensure the ground cloth covers the entire pool bottom and extends beyond the pool’s perimeter.
4.4 Inspect the pool area for any protrusions or sharp objects
Before proceeding with the installation, carefully inspect the pool area for any protrusions, sharp objects, or debris that could damage the pool liner. Remove any rocks, branches, or other potential hazards to guarantee a safe and smooth installation process.
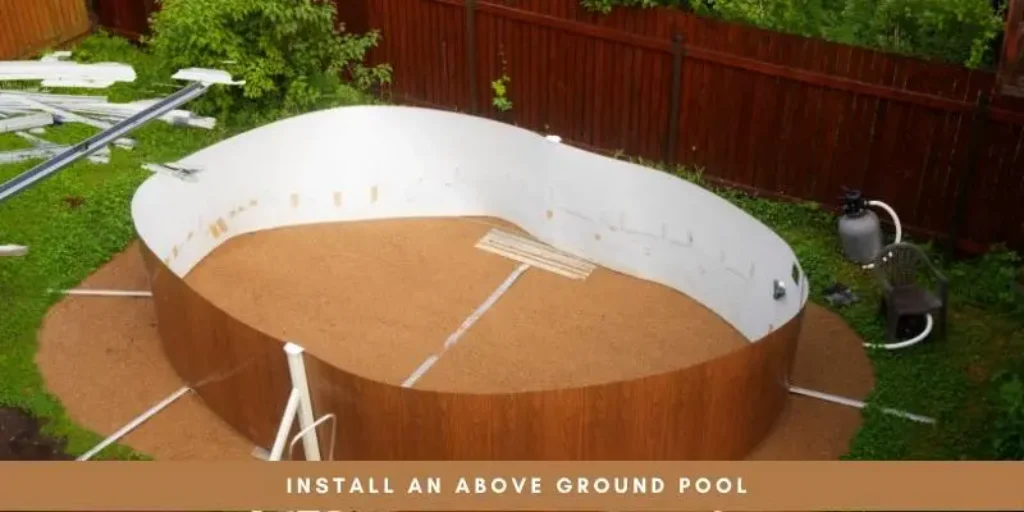
This image is property of poolwarehouse.com.
5. Frame assembly
5.1 Read the manufacturer’s instructions
Before starting the frame assembly, carefully read the manufacturer’s instructions. The instructions will provide you with specific guidance on how to assemble the pool frame, including the order of steps and any additional tools you may need. Following the instructions diligently will ensure a successful and efficient installation.
5.2 Assemble the bottom ring
The bottom ring is typically the first part of the pool frame to be assembled. Attach the bottom ring segments according to the manufacturer’s instructions, ensuring they are securely connected. Use any required hardware, such as screws or bolts, and tighten them adequately.
5.3 Attach the vertical support beams
Once the bottom ring is assembled, attach the vertical support beams. These beams serve as the main structure of the pool and provide stability. Connect the beams to the bottom ring and secure them tightly. Follow the manufacturer’s instructions to ensure proper alignment and positioning.
5.4 Connect the horizontal beams
After the vertical support beams are in place, connect the horizontal beams. These beams add further support and stability to the pool walls. Attach them to the vertical beams, making sure they are level and evenly spaced. Again, consult the manufacturer’s instructions for the correct procedure.
5.5 Secure the frame
With all the pool frame components assembled, it is crucial to secure the entire frame. Check that all connections are tight and secure, using a wrench or screwdriver if necessary. A stable and properly secured frame will provide a strong foundation for the pool’s walls and ensure the pool’s structural integrity.
6. Wall installation
6.1 Attach the wall panels
Now that the frame is securely in place, it is time to attach the wall panels. These panels create the structure of the pool walls and hold the pool water. Follow the manufacturer’s instructions to attach the panels securely to the frame. Ensure that the panels overlap correctly and fit tightly together.
6.2 Ensure panels are level and secure
As you attach the wall panels, periodically check that they are level and secure. Use a level tool to ensure that the panels are straight and aligned. Make any necessary adjustments to ensure a smooth and even wall installation.
6.3 Install the top rails
Once the wall panels are in place, install the top rails. These rails provide additional support to the pool walls and create a finished look. Attach the top rails according to the manufacturer’s instructions, making sure they are correctly aligned and evenly spaced. Secure them tightly to ensure they remain in place.
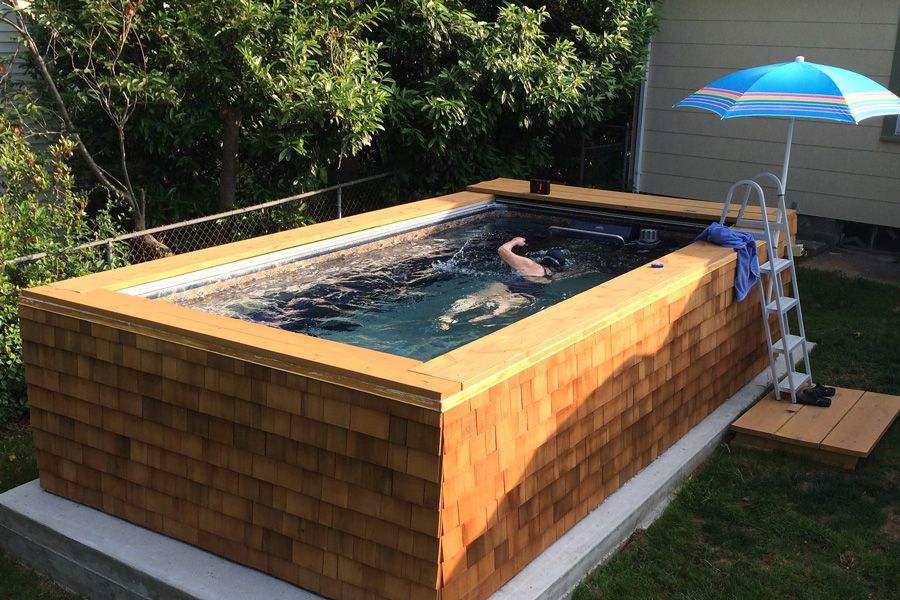
This image is property of blog.thepoolfactory.com.
7. Liner installation
7.1 Spread out the liner
With the pool walls installed, it is time to lay out the liner. Gently spread the liner over the pool area, ensuring it covers the entire pool bottom and reaches the top of the walls. Smooth out any wrinkles or folds, as they can cause problems later on.
7.2 Smooth out wrinkles and adjust positioning
Once the liner is spread out, carefully smooth out any wrinkles or folds. Start from the center of the pool and work your way towards the edges, using your hands or a soft broom to push out any air pockets. Take your time to ensure the liner is wrinkle-free, as wrinkles can affect the pool’s appearance and lifespan.
7.3 Attach the liner to the sides
To secure the liner in place, attach it to the pool walls. Follow the manufacturer’s instructions on how to do this effectively. This step usually involves using coping strips or another suitable method to fasten the liner securely to the top of the pool walls. Make sure the liner is snugly attached and there are no gaps or loose sections.
7.4 Install the skimmer and return fittings
As the liner is in place, install the skimmer and return fittings. These fittings play a crucial role in the pool’s circulation system and water maintenance. Follow the manufacturer’s instructions to correctly position and secure the fittings. A well-installed skimmer will help remove debris from the pool, while the return fittings ensure proper water circulation.
8. Pool plumbing
8.1 Connect the pump and filter
With the skimmer and return fittings in place, it is time to connect the pump and filter. Follow the manufacturer’s instructions to ensure the correct installation of these components. Connect the pump to the skimmer and the filter, ensuring that all connections are properly sealed and secure.
8.2 Attach the hoses
In addition to the pump and filter, attach the hoses to complete the pool plumbing system. Connect the appropriate hoses to the skimmer, return fittings, and the pump/filter assembly, again following the manufacturer’s instructions. Take care to tighten all hose connections to prevent leaks.
8.3 Add sand or other media to the filter
Depending on the type of filter you are using, you may need to add sand or another suitable media to the filter tank. This media will help filter out impurities from the pool water. Consult the manufacturer’s instructions to determine the quantity and type of media required. Add the media carefully to the filter, making sure it is evenly distributed.
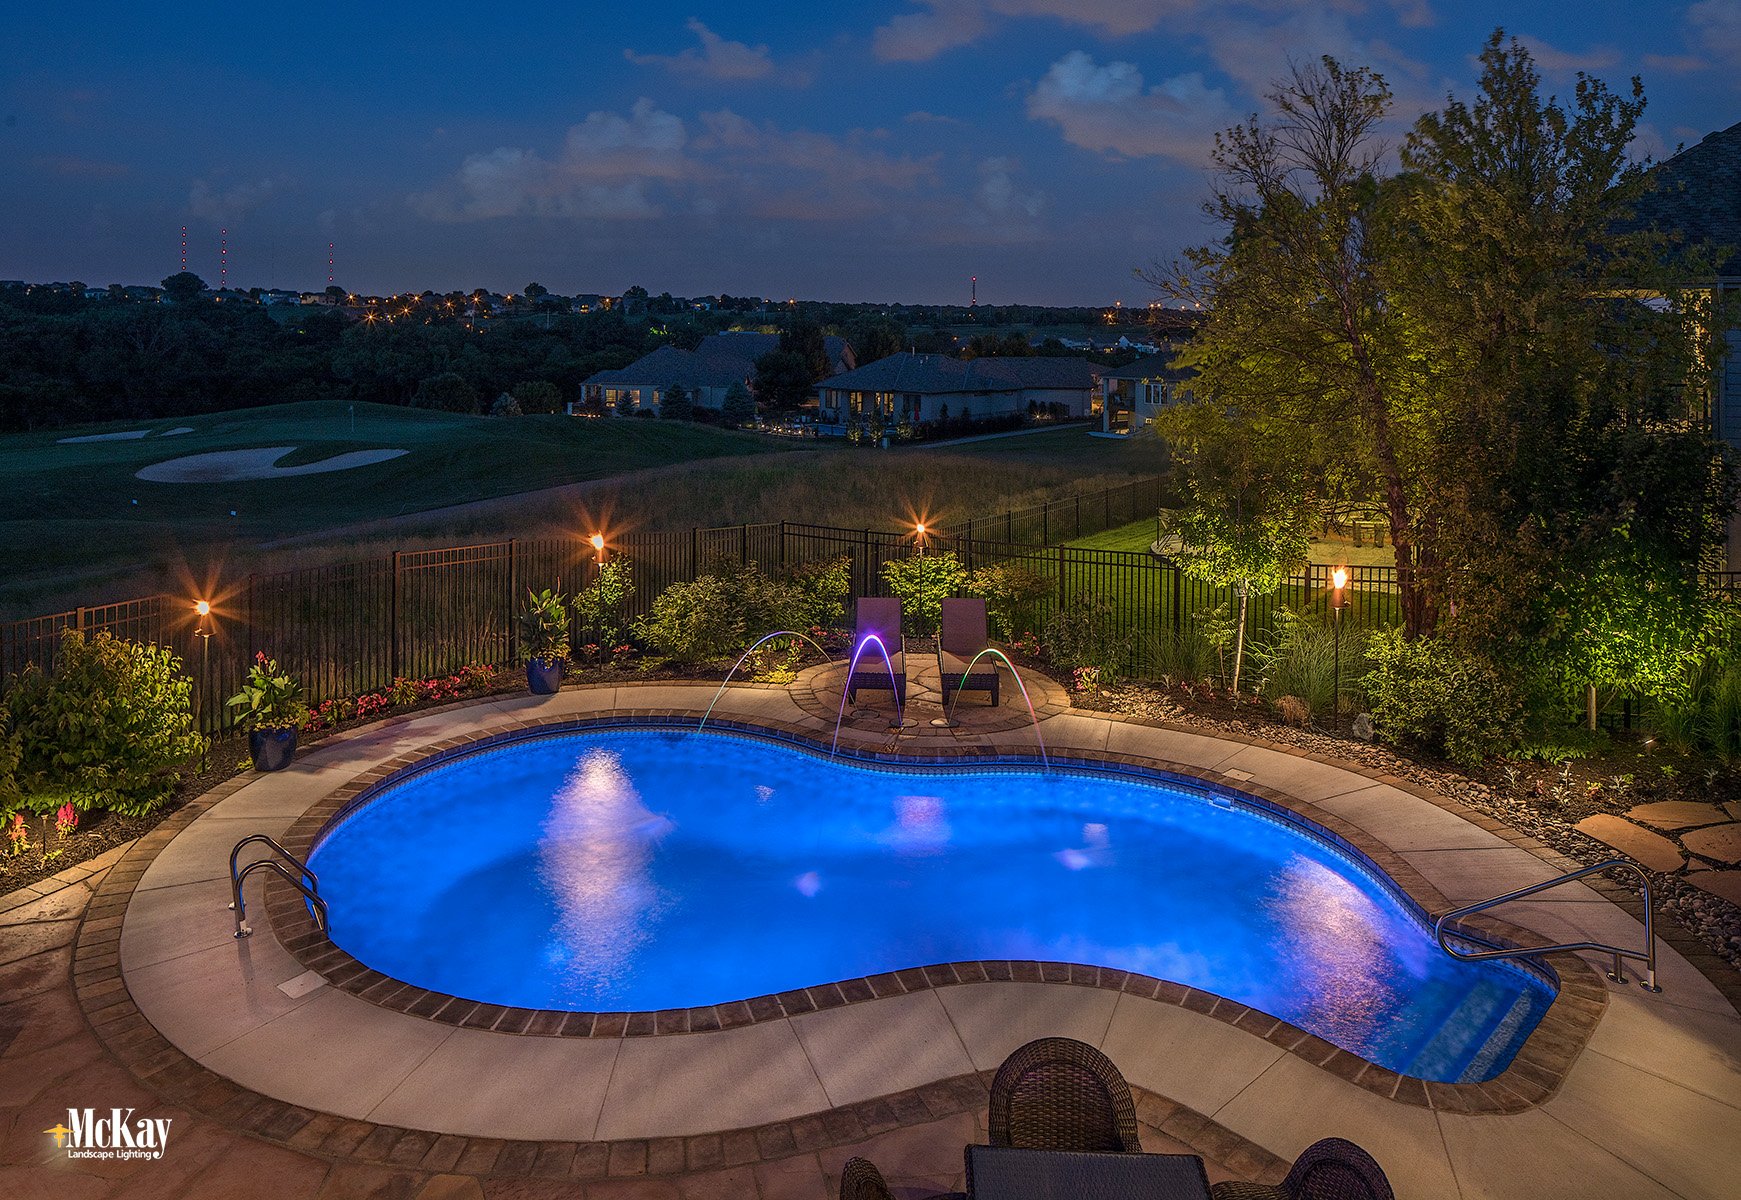
This image is property of bestabovegroundpool.net.
9. Filling and testing
9.1 Fill the pool with water
Once the pool plumbing is connected and secure, it is time to fill the pool with water. Use a garden hose or another suitable water source to gradually fill the pool. Fill it to the recommended level specified by the manufacturer.
9.2 Adjust the water level
After the pool is filled, check the water level and make any necessary adjustments. Ideally, the water level should be even and reach the midpoint of the pool skimmer. Add or remove water as needed to achieve the correct level.
9.3 Test the water pH and chemical balance
To ensure the pool water is safe and clean for swimming, it is crucial to test its pH and chemical balance. Use a pool water testing kit to check the water’s pH level, chlorine level, and other necessary parameters. Adjust the chemicals accordingly to achieve the recommended balance, following the instructions provided with the testing kit.
9.4 Run the filtration system and check for leaks
Once the pool is filled and chemically balanced, it is time to test the filtration system. Turn on the pump and filter and allow them to run for a sufficient amount of time. Observe the system for any signs of leaks or malfunctions. Check all connections and ensure there are no visible leaks. Running the filtration system regularly is essential for the pool’s cleanliness and longevity.
10. Finishing touches
10.1 Install the ladder
To provide easy access to the pool, install a ladder. Follow the manufacturer’s instructions to attach the ladder securely to the pool wall. Ensure that the ladder is stable and able to support the weight of users. A well-installed ladder will enhance the pool’s safety and ease of use.
10.2 Add pool accessories and features
To further enhance your swimming experience, consider adding pool accessories and features. This could include pool lights, a pool cover, a pool heater, or even a pool slide. Choose accessories that suit your preferences and ensure they are compatible with your above ground pool.
10.3 Maintain regular pool maintenance
After installing your above ground pool, it is important to establish a regular pool maintenance routine. This includes tasks such as pool cleaning, water testing, chemical balancing, and filter maintenance. Regular maintenance will ensure the longevity of your pool and create a safe and enjoyable swimming environment.
By following these step-by-step instructions, you can successfully install an above ground pool in your backyard. Remember to always consult the manufacturer’s instructions for specific guidance and seek professional help if needed. With proper installation and regular maintenance, your above ground pool will provide you and your loved ones with endless hours of summertime fun.
